MY Tips
How to Streamline Your
Client Onboarding Process for
a Better Experience
Client onboarding is one of the most critical steps in delivering a seamless and professional service in your landscape design business. A smooth onboarding process sets the tone for your client relationships, ensures clarity, and lays the foundation for a successful project. Streamlining this process not only improves your client’s experience but also saves you time and effort.
At Your Landscape Journey, we understand the importance of efficient systems in creating a thriving business. In this blog, we’ll outline key steps to optimize your onboarding process and share helpful resources to make it easier. For a more personalised approach, book a 10-minute connect session with us.
1. Set Expectations with a Welcome Email
A professional welcome email is a great way to kick off the client onboarding process. This email should include key details about the next steps and what clients can expect throughout the project.
What to Include:
- A brief introduction to your process.
- A project timeline or roadmap.
- Links to resources, such as a design questionnaire or terms of service.
Helpful Tool:
Use email platforms like Mailchimp to automate your welcome emails and keep communications organised.
2. Use a Client Onboarding Checklist
A checklist ensures that every step of the onboarding process is consistent and thorough. From initial contact to the first consultation, having a detailed list can help you stay on track.
Essential Checklist Items:
- Collect client details (contact info, project location, etc.).
- Send a design brief template or questionnaire.
- Schedule the initial consultation.
Resource:
Download our Client Onboarding Checklist to streamline your process and stay organised.
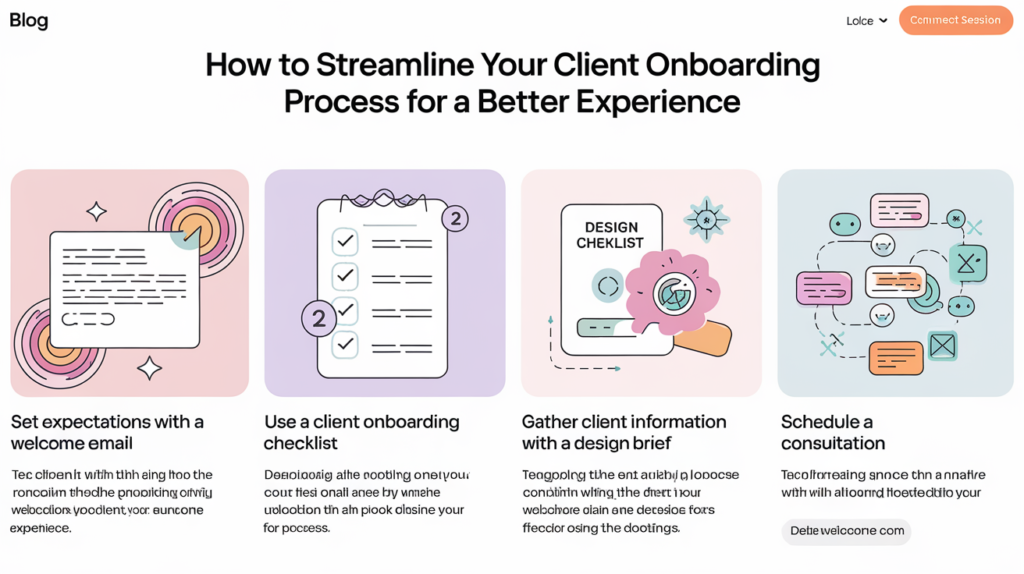
3. Gather Client Information with a Design Brief
A well-crafted design brief helps you understand your client’s goals, preferences, and priorities. This step minimises misunderstandings and ensures your design aligns with their vision.
What to Include:
- Project goals and desired outcomes.
- Budget range and timeline expectations.
- Design preferences (style, colours, materials).
Helpful Resource:
Use tools like Typeform to create interactive, user-friendly questionnaires for your clients.

4. Provide a Clear Project Proposal
Once you’ve gathered all necessary information, create a detailed project proposal that outlines the scope of work, deliverables, timelines, and costs. This document should serve as a reference point for both you and your client.
Tips for an Effective Proposal:
- Use visuals like mood boards or concept sketches to communicate your ideas.
- Include clear payment terms and a contract for transparency.
- Make it easy to approve and sign electronically using tools like DocuSign.
5. Streamline Scheduling and Communication
Efficient scheduling and communication are key to keeping the project on track. Use tools that simplify booking and client interactions.
Tools for Scheduling:
- Calendly: Let clients book consultations directly through a link, like our 10-minute connect session booking page.
- Google Calendar: Sync schedules with clients to avoid conflicts.
Tools for Communication:
- Use platforms like Slack for project updates and quick discussions.
- Create a dedicated project folder in Google Drive to share files and progress updates.
6. Educate Clients About the Process
Educating clients about your workflow and what to expect at each stage can prevent misunderstandings and improve collaboration.
How to Educate Clients:
- Share a project roadmap that highlights key milestones (e.g., concept presentation, revisions, final delivery).
- Offer FAQs on your website to address common concerns.
Resource:
Add a Client Welcome Packet to your onboarding process. This can include a roadmap, FAQs, and your contact information. If you need help creating one, check out our mentoring resources.
7. Track Progress and Feedback
8. Evaluate and Refine Your Process
The onboarding process isn’t static—it should evolve as your business grows and client needs change. Periodically review your process to identify areas for improvement.
How to Refine Your Process:
- Analyse client feedback to identify pain points.
- Look for tools or templates that can simplify your workflow.
- Consult with a mentor or industry expert for tailored advice.
Final Thoughts on Onboarding Your Clients
A streamlined client onboarding process is key to delivering a professional, stress-free experience for your clients while improving your efficiency. By using tools, templates, and clear communication, you can create a process that sets the stage for successful projects every time.
At Your Landscape Journey, we specialise in helping landscape professionals optimise their processes and grow their businesses. If you’d like personalised advice on client onboarding or other aspects of your business, book a 10-minute connect session today.
Start streamlining your onboarding process today and watch your client satisfaction—and your business—thrive!

Our recommendations and information provided in our articles, blog and on this website is intended to be educational and informative only. It is at no time to be relied upon as personal advice for your own situation. While we try our best to ensure that the information is accurate, sometimes it may not be suitable or correct for your particular circumstances or the products or services you may choose to purchase.
Any comments, guidance, or information on this website is our own view and based on our experience and we do not provide any guarantees, warranties relating to any aspect of the information, including but not limited to any reliance on the safety or security of any landscape recommendations, renovations, designs, plant use or any particular installations. We hope you find it helpful but please be aware that it may not be suitable for your situation, location, surroundings or other specific needs. This information is offered in good faith and it is not specific to any one person or any personal circumstance. You should contact us directly so we may review and assess your own situation to be able to provide recommendations specific to your own requirements, particularly if you are in a fire, drought or other sensitive area.
We hope you understand that for this reason, we are not to be held liable for any decisions you make based on any of the information, views, or recommendations on our website and in our blog articles and any consequences, as a result, are your own.
The information shown and posted on this website or expressed by either the moderator is the view of the person(s) posting only and is intended to be examples only and not advice for you personally.
Any decisions or information on this website you decide to use, read or act upon is done at your own risk and you shall indemnify yourlandscapejourney.com, its directors and employees for any and all claims whether resulting directly or indirectly from your actions.